
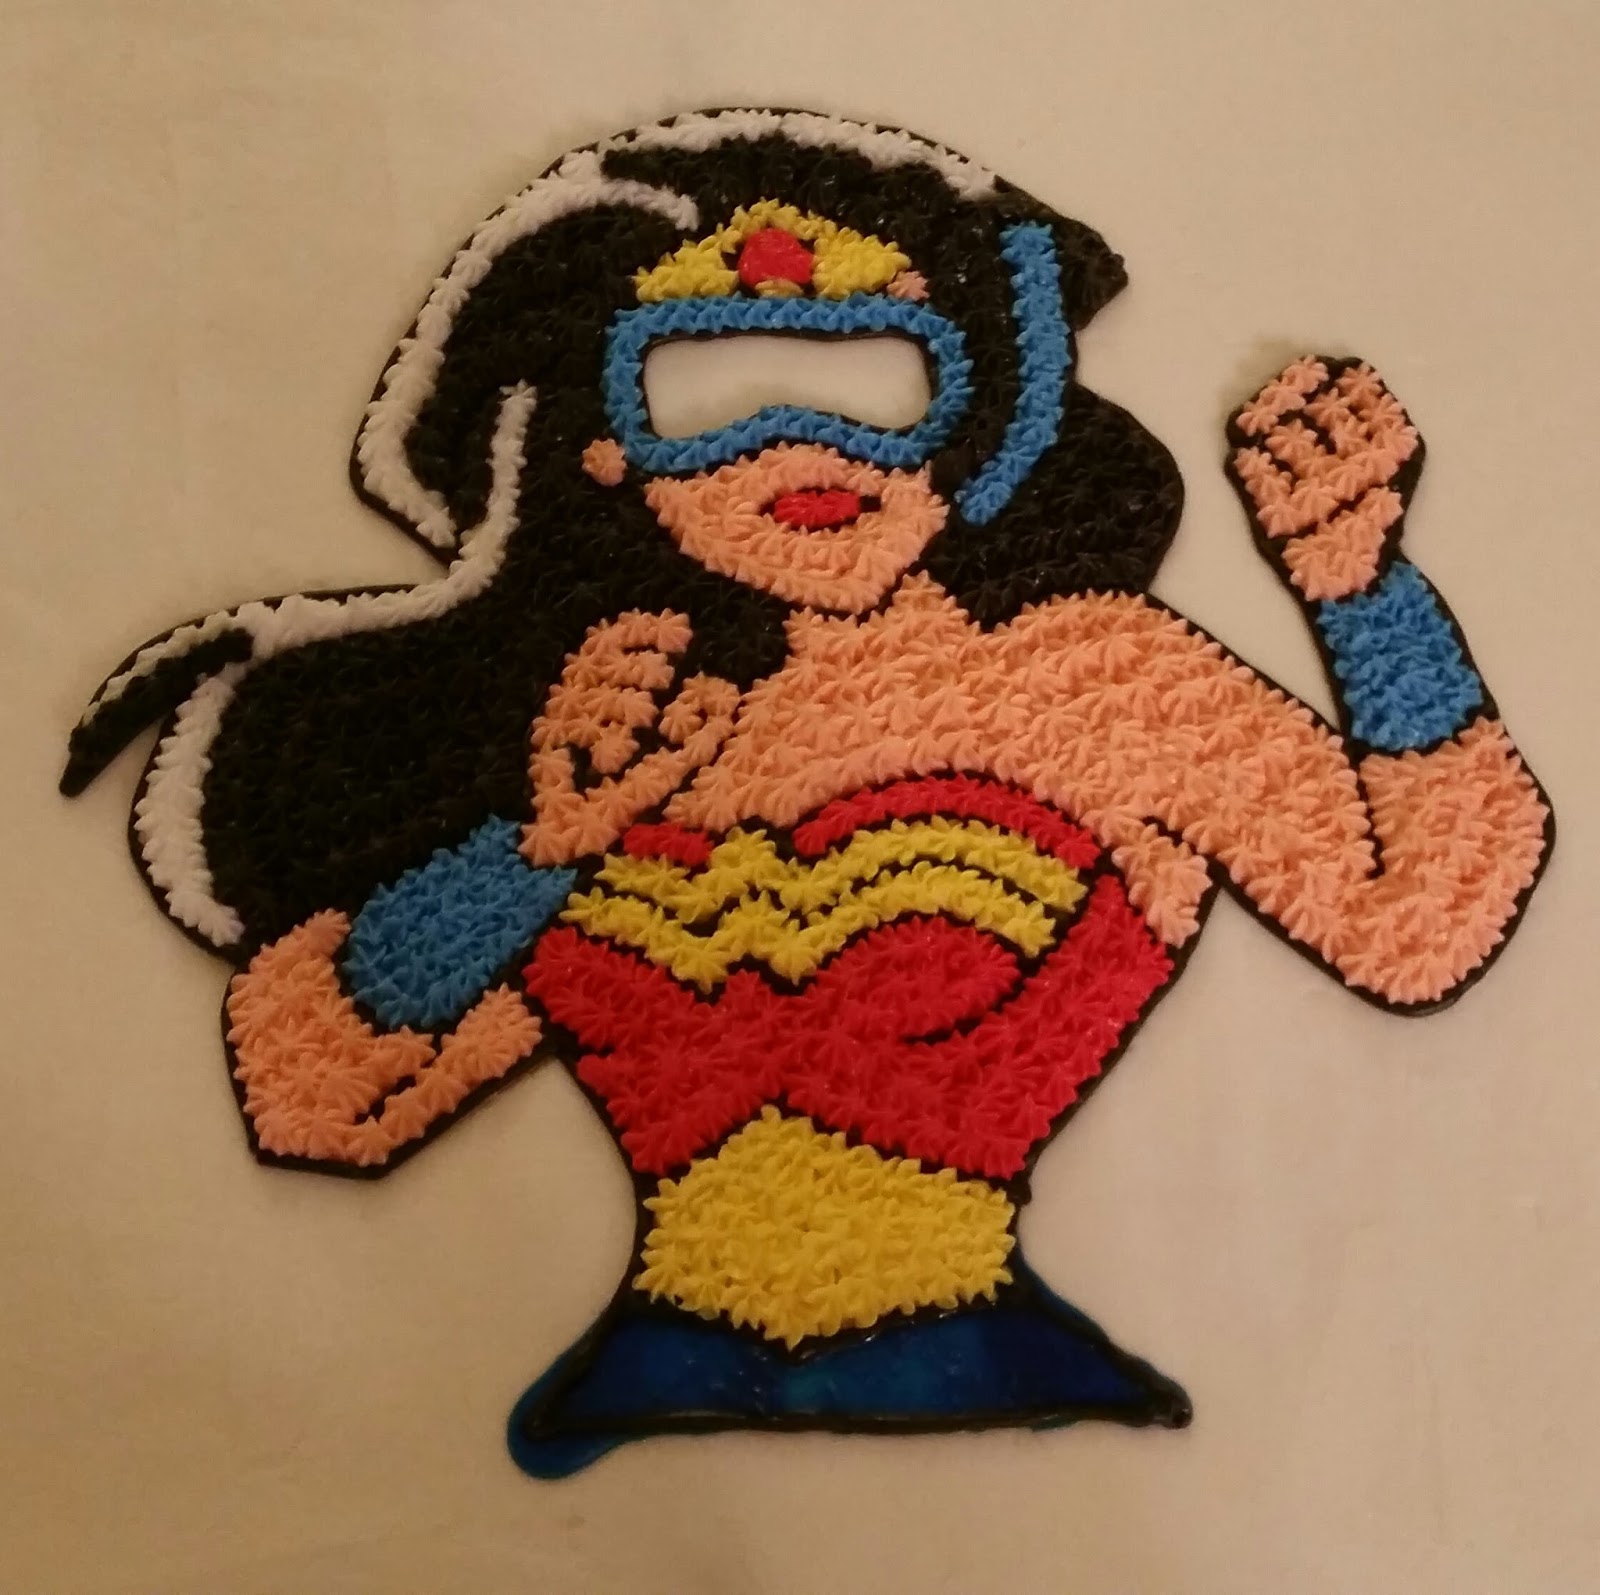
I was commissioned by Dogfish Head Brewery to do a sheet cake with the clipart pictured above for their brewmaster, Tim, who is moving away. Every Friday, they get out of work at 4:30 instead of 5:00 and attend "Beer:30." They have a wonderful room for the employees to hang out in, and I was excited to see it. I was honored to be invited to attend. Since I have temped there three times, I was really starting to get to know the employees. Of course, I had to break it to them that I was not going to be temping for them anymore due to my new job. I thought I'd show you how the graphics came together on this cake. The story behind the art work? Tim wore a Wonder Woman costume, including the lipstick and a wig, to a party there once. He and his wife are avid scuba divers. The two things combined together made for some pretty epic clipart, don't you think?
So the first thing I did was to go to Print Shop (a desktop publishing program) where I told the computer I wanted a document with custom measurements, the exact size of my sheet cake. I inserted the clipart and printed out a large version that could lay on top of the cake. I then cut out the complete outline of Wonder Woman and after icing the cake, laid the paper on it and gently traced her outline with a toothpick. Then, cutting away a little at a time, I was able to lay it back on and draw in the other parts in toothpick. For much of it, it was a matter of tracing the outline, but in some parts I actually drew it myself freehand with the toothpick. Here's what it looked like when the toothpick step was done:

It's SO easy from here on out. The worst part is drawing it on! But then again, it wasn't exactly drawing. It was tracing!!! Next comes the outlining. A simple black icing will do just fine.

For this particular cake, since I wanted the black to really stand out and not have much "gray" quality to it, I purchased pre-made Wilton black icing and added it to some white icing I already had to get a bigger quantity and make it more the consistency of the icing I was already using. Their black icing tends to be really shiny if you don't add some regular buttercream to it. Sometimes instead of black, I will use a dark blue which is easy to mix up. I used a Wilton #4 round tip for the outlining here because it was a large cake. I would go as low as a #2 or #3 if it were a smaller size cake. Next with star tips varying from Wilton #18 to #21, I added each icing color in one at a time with drop stars. Yellow, peach for the skin, blue, yellow, red,white, and black. Then I went back over some of the outlining to make it stand out more.


When everything was filled in, all that was left was to fill in the face of her mask. I also noticed that the sparkly blue gel I used under her belt area was starting to seep out of the black outlined area, so I had to think quickly and add some black icing to that area to do damage control and stop it from spreading further. Here's the final fix:


This picture shows the original clipart next to the finished cake.
The final touches included red, white, and blue roses and rosebuds. In an upcoming tutorial, I'm going to show an EASY way to get tri-colored piping set up in a piping bag. It was a new technique I had never done before to fill the bag, and I am now HOOKED on it. I can't wait to show you!
The rose and rosebud close up:

And the final cake....

The brewmaster, Tim, and Big Mam, the brewceptionist, did the honors of cutting the first slice...

And as the event wore on, it was evident that nobody wanted to ruin the design. The cake was vanilla on one side and chocolate on the other. They cut from the edges, and when I left, this was what was still intact....

There are a few things you will NEVER hear ME say...
1. I can't eat that.... it's too rich.
2. I can't eat that, it's too sweet.
3. It's too pretty to eat.
Life's short.... CUT THE CAKE!!!!
I never say those three things either!
ReplyDelete